You’ve got an RTX 5090 and a 4K display that proudly advertises 120 Hz or 144 Hz… but if you actually check Windows or your GPU settings, there’s a good chance you’re really running:
- 4K at 60 Hz, or
- A lower resolution upscaled to 4K, or
- The wrong colour / scaling / TV mode that adds lag and blur
If your 4K panel isn’t running 3840×2160 at its maximum refresh rate, you’re wasting a chunk of what your RTX 50-series card can do.
This guide is your step-by-step, practical walkthrough for getting your 4K monitor or TV properly configured so it’s actually running native 4K at full refresh – and playing nicely with your RTX 5090.
Perfect as a support pillar under your main optimisation guide on rtx50series.co.uk.
Step Zero: Know What Your 4K Display Is Capable Of
Before you can “run your 4K display at its native resolution and maximum refresh rate”, you need to know:
- What native resolution it really uses
- What its true max refresh rate is
- Which ports support that combo
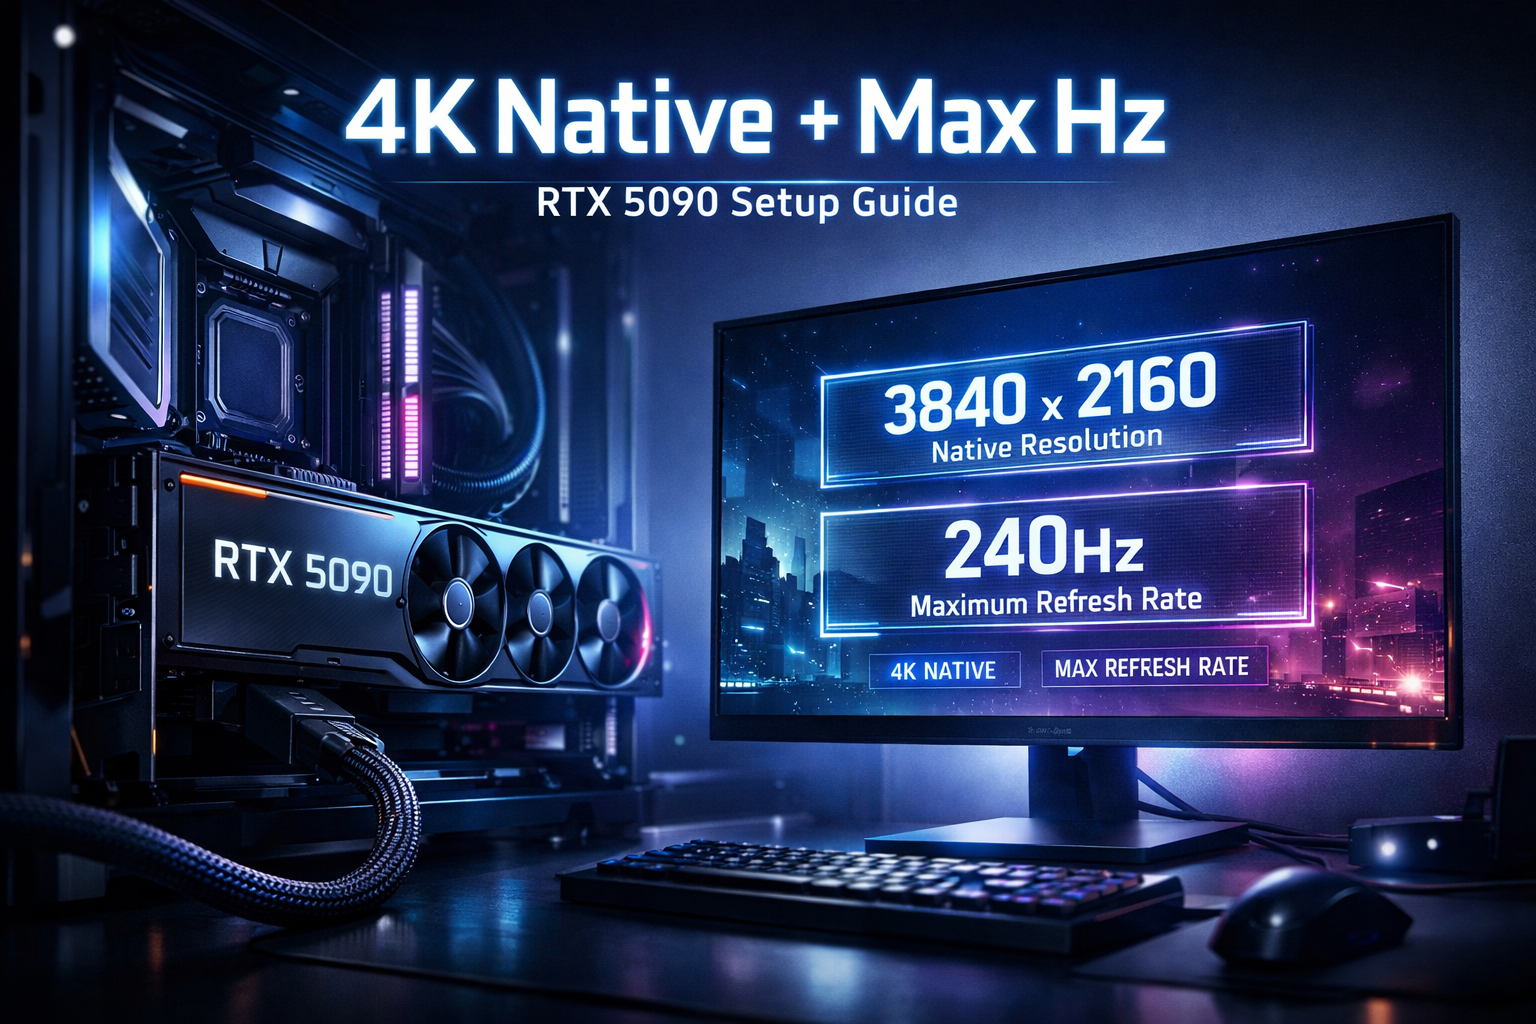
Native resolution
Almost all consumer “4K” displays today are 4K UHD:
- 3840 × 2160 pixels
- 16:9 aspect ratio
This is the resolution you want both Windows and your games to use.
Maximum refresh rate
Check your display’s spec sheet:
- Many 4K TVs:
- 60 Hz on older sets
- 120 Hz on newer HDMI 2.1 “gaming” models
- Many 4K monitors:
- 60 Hz on office / cheap 4K
- 120 Hz / 144 Hz on gaming-class models
- Some specialist panels go even higher with DSC
If your screen only does 4K 60 Hz, that’s your hard ceiling; the focus becomes rock-solid 60 FPS with perfect frametimes.
If you’ve got 4K 120 or 144 Hz, your RTX 5090 can really stretch its legs – if you set things up correctly.
Which ports actually support full spec?
This bit trips people up constantly.
- On monitors, full 4K high refresh is usually via DisplayPort 1.4/2.x or HDMI 2.1, not older HDMI 2.0 ports.
- On TVs, only specific HDMI 2.1 ports support 4K 120 Hz + VRR; others are often limited to 4K 60 Hz.
Always check:
- The manual or product page for which ports are “4K 120 Hz / 144 Hz”, “HDMI 2.1”, “Gaming”, or VRR-capable.
- Any menu option like “PC mode”, “4:4:4 mode” or “Enhanced / High bandwidth HDMI” that needs enabling on that input.
Cable and Port: Give the RTX 5090 a Clean High-Bandwidth Path
Your RTX 5090 can output monster bandwidth, but the weakest link – cable or port – will set the limit.
For 4K monitors: use DisplayPort where possible
On a 4K gaming monitor, the standard best path is:
- RTX 5090 DisplayPort → monitor DisplayPort
Use:
- A short, good-quality DP 1.4 or better cable
- Avoid unknown 10-year-old cables that came with random kit
DisplayPort on gaming monitors is designed for:
- 4K 120–144 Hz
- HDR
- G-Sync / FreeSync VRR
Exactly what you want.
For 4K TVs: use HDMI 2.1 on the right input
On a modern 4K TV, the correct setup is:
- RTX 5090 HDMI → TV HDMI 2.1 “gaming” port
- Ultra High Speed HDMI cable that’s certified for HDMI 2.1
Make sure:
- You’re on the HDMI port labelled 4K120 / 120 Hz / 2.1 / Game / eARC in the TV manual
- You enable any “Enhanced / High bandwidth HDMI” option for that port in the TV’s settings
If you use a non-2.1 HDMI port or a random old cable, you’ll often be capped at 4K 60 Hz.
Avoid unnecessary devices in the chain (at least while tuning)
While you’re getting things working:
- Go RTX 5090 → monitor/TV directly
- Avoid routing through AV receivers, splitters, or capture cards until you’ve confirmed stability and bandwidth
Once you know 4K + max refresh works barebones, you can re-introduce devices one at a time.
Windows: Force Native 4K and the Highest Refresh Rate
Even with perfect hardware, Windows loves defaulting to 4K 60 Hz or a non-native resolution.
Set 3840×2160 as your desktop resolution
In Windows 11:
- Right-click desktop → Display settings
- Under Scale & layout → Display resolution, select 3840 × 2160 (Recommended)
If you see 2560×1440, 1920×1080 or anything else, you’re not actually running native 4K.
Scaling (text size):
- Set Scale to 150–200%, depending on display size. This doesn’t affect in-game performance; it just makes desktop UI readable.
Set maximum refresh in Advanced display settings
Still in Display settings:
- Scroll down to Advanced display
- Under Choose a refresh rate, pick the highest option (e.g. 120 Hz or 144 Hz) for your main display
- Confirm that Active signal resolution shows 3840 × 2160
If the max refresh you see is only 60 Hz:
- Double-check you’re on the correct DisplayPort/HDMI 2.1 port
- Check the TV’s input label / mode (many TVs only offer 120 Hz on certain ports and in specific modes)
- Try a different cable known to handle high bandwidth
NVIDIA Control Panel: Match the RTX 5090 Output to the Panel
Next, make sure the RTX 5090 itself is outputting what you expect.
Set 4K + max refresh + correct colour
- Right-click desktop → NVIDIA Control Panel
- Go to Change resolution
- Select your 4K display on the left
Then set:
- Resolution: 3840 × 2160
- Refresh rate: 120 Hz or 144 Hz (whatever your panel supports)
- Output colour depth:
- 10-bit for HDR (if supported and stable), or
- 8-bit if you hit bandwidth limits at very high refresh
- Output colour format: usually RGB (Full) or YCbCr 4:4:4 for crisp PC text
If 4K 120/144 Hz doesn’t appear here but does in the manual, that’s a sign of:
- Wrong port
- Inadequate cable
- TV mode that’s restricting bandwidth
Enable VRR (G-Sync / G-Sync Compatible / FreeSync)
Still in NVIDIA Control Panel:
- Go to Set up G-Sync
- Tick Enable G-Sync, G-Sync Compatible
- Select your 4K display and enable for full screen (and windowed, if you like)
Many 4K TVs and monitors are “G-Sync Compatible” – they support Adaptive-Sync / FreeSync over HDMI 2.1 or DisplayPort, and NVIDIA taps into that.
Running native 4K at max refresh with VRR on is how you eliminate tearing and reduce judder when frame rates fluctuate.
Fix Common TV and Monitor Settings That Break 4K + High Refresh
Even when Windows and NVIDIA are correct, your display might still be sabotaging you.
On a 4K TV: enable Game Mode and VRR
On your TV:
- Enable Game Mode / Game Optimiser / ALLM on the HDMI port connected to the PC
- Turn on VRR / FreeSync / G-Sync if supported
- Ensure any “HDMI Enhanced / 4K 120” options are enabled
This typically:
- Unlocks 4K 120 Hz
- Cuts input lag dramatically
- Allows VRR to function properly
Turn off motion smoothing and heavy processing
Look for:
- Motion smoothing / interpolation (TruMotion, MotionFlow, Auto Motion Plus, etc.)
- Noise Reduction / MPEG Noise Reduction
- Overzealous Dynamic Contrast / Local Contrast / Super Resolution
Turn them off for your PC HDMI/DP input.
These features:
- Add latency by processing each frame
- Often break VRR
- Make games look weirdly “fake smooth”
On monitors: disable non-native scaling
On some monitors:
- Set input to PC rather than “AV”
- Disable any internal scaling tricks if they blur the image
You generally want the monitor to display exactly the 3840×2160 signal it receives, no extra scaling.
Running Games at Native 4K with Full Refresh
Once the desktop, control panel and display are aligned, your games should be next.
In each game: check resolution and refresh
In the game’s display / graphics options:
- Set resolution to 3840 × 2160
- Use the game’s fullscreen or borderless mode that honours system refresh (most modern engines do)
Avoid:
- Running the game at lower resolutions and relying on the display to upscale, unless you’re doing it deliberately for performance
- Weird custom resolutions that don’t match the panel
Match frame rate to refresh “smartly”
For 4K 120/144 Hz on an RTX 5090:
- Turn VRR on
- Cap FPS just below the refresh:
- 117–118 FPS on 120 Hz
- 140–141 FPS on 144 Hz
- You can use the in-game limiter or tools like RTSS
This gives:
- Very smooth pacing
- Less risk of hitting the exact refresh ceiling and inducing micro-stutter
- Lower power draw and noise than running uncapped
Use DLSS / reconstruction as a tool, not a crutch
At true 4K:
- Try native 4K with sensible settings first
- If your 1% lows / frametimes are iffy, enable DLSS / FSR / XeSS in Quality mode
You still get a 4K image delivered to your display at its native resolution and full refresh, but with more stable performance.
Minimising Latency While Running Native 4K at Full Refresh
Now that your 4K panel is finally running correctly, you can squeeze latency down.
Windows and NVIDIA
- Windows Game Mode: ON
- Hardware-Accelerated GPU Scheduling: test ON; keep it if stable and smoother for you
- In NVIDIA Control Panel:
- Low Latency Mode: On (or Ultra for GPU-bound games)
- In supported games:
- NVIDIA Reflex: On or On + Boost
These reduce queueing and scheduling overhead so your inputs reach the 4K panel as quickly as possible.
Keep the chain clean while playing
For serious sessions:
- Avoid routing through extra devices that add latency (old receivers, cheap switches)
- Don’t run multiple overlays and recorders you don’t need
- Treat your 4K setup like a tight pipeline: input → RTX 5090 → display
Quick Troubleshooting: When 4K + Max Refresh Refuses to Work
If you still can’t get native 4K at maximum refresh:
- Check the cable
- Use a certified DP 1.4+ cable for monitors or an Ultra High Speed HDMI 2.1 cable for TVs.
- Check the port
- Make sure the GPU is on the right DP/HDMI output and the display is on its high-bandwidth port.
- Check display mode
- TV in Game Mode / PC mode, HDMI input set to “Enhanced / 4K 120”.
- Check drivers
- Install the latest NVIDIA driver for RTX 50-series and reboot.
- Try a different cable / port combination
- Sometimes a single port or cable is faulty.
Once you see 3840×2160 @ 120/144 Hz in Windows, NVIDIA and the display’s info menu, you’re there.
One thought on “How to Run Your 4K Display at Its Native Resolution and Maximum Refresh Rate with an RTX 5090”